DIY Personalized Christmas Stockings
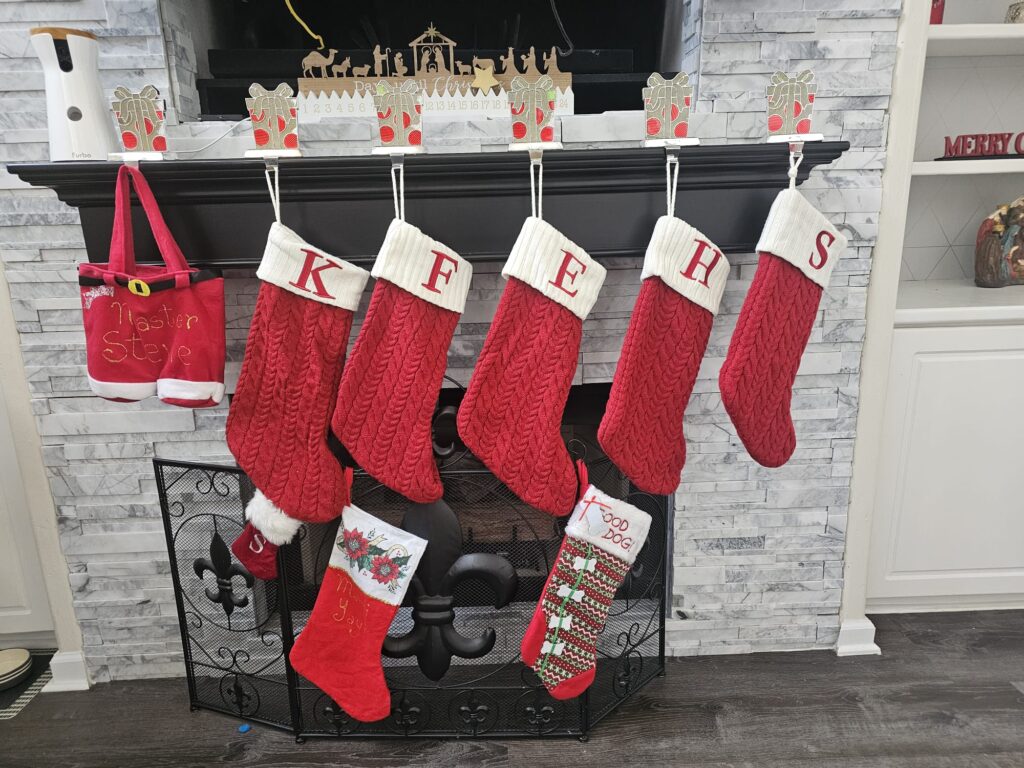
Christmas is all about adding special, personal touches to make the season magical. What better way to do this than by creating personalized stockings for your loved ones? These DIY stockings are not just cute but also meaningful, and they’re perfect for moms, sisters, or friends who love to add a personal flair to their holiday décor.
This guide will walk you through an easy way to make your own stockings, even if you’re not super crafty.
What You’ll Need
- Fabric: Choose something you love—felt, burlap, or festive cotton (½ yard per stocking).
- Stocking Pattern: Print one online or trace an old stocking.
- Scissors
- Fabric Glue or Hot Glue (for no-sew options)
- Thread and Needle (if sewing by hand) or a Sewing Machine (optional)
- Decorations:
- Ribbons, lace, or trim
- Pom-poms or bells
- Markers, paint, or iron-on letters for names

Step 1: Pick a Design and Fabric
Think about the look you want: cozy and rustic, fun and colorful, or classic and elegant. Pick a fabric and decorations that match your holiday style. For example:
- Burlap with red ribbon for a rustic vibe.
- Glittery fabric for a festive, glamorous look.
- Plaid flannel for cozy charm.
Step 2: Make the Stocking Shape
- Print a Pattern: Find a free stocking template online or draw your own on paper.
- Cut the Fabric: Fold your fabric in half. Place the pattern on top, pin it down, and cut around it. You’ll end up with two identical stocking pieces.
Step 3: Put the Stocking Together
If you’re sewing:
- Place the two pieces together, with the nice sides (the side you want showing) facing inward.
- Sew along the edges, leaving the top open.
- Turn it right-side out when you’re done.
If you’re gluing:
- Lay one piece of fabric flat. Run a line of fabric glue along the edges (not the top).
- Press the second piece on top and let it dry.
Step 4: Add the Name
Make the stocking personal by adding names or initials!
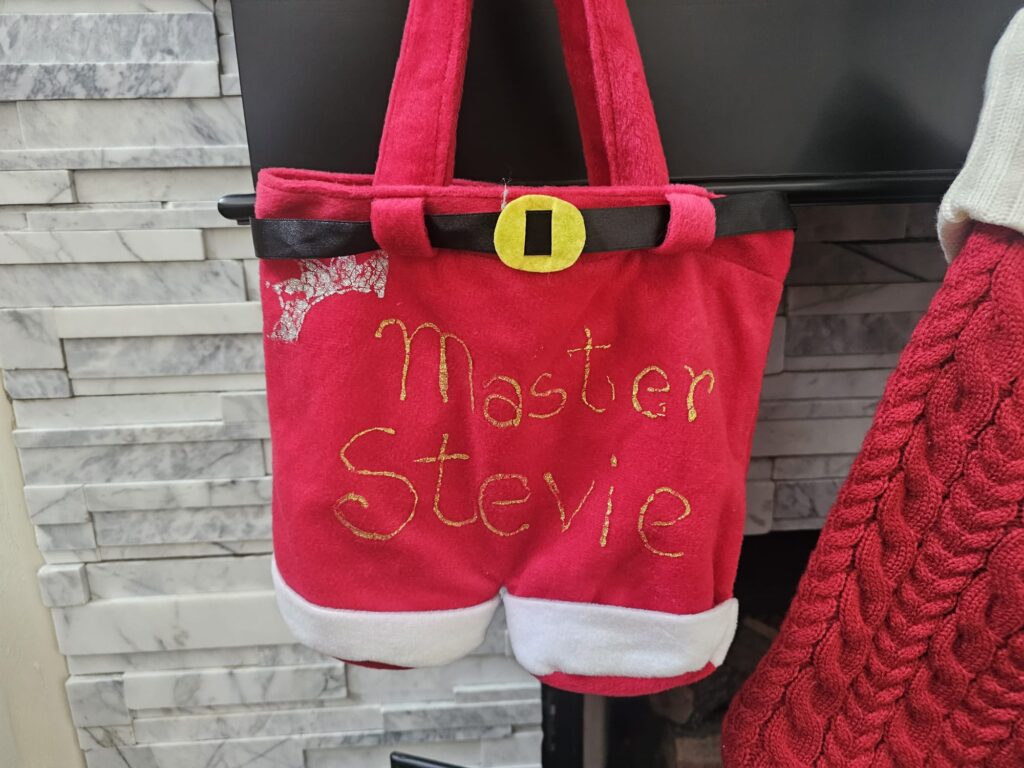
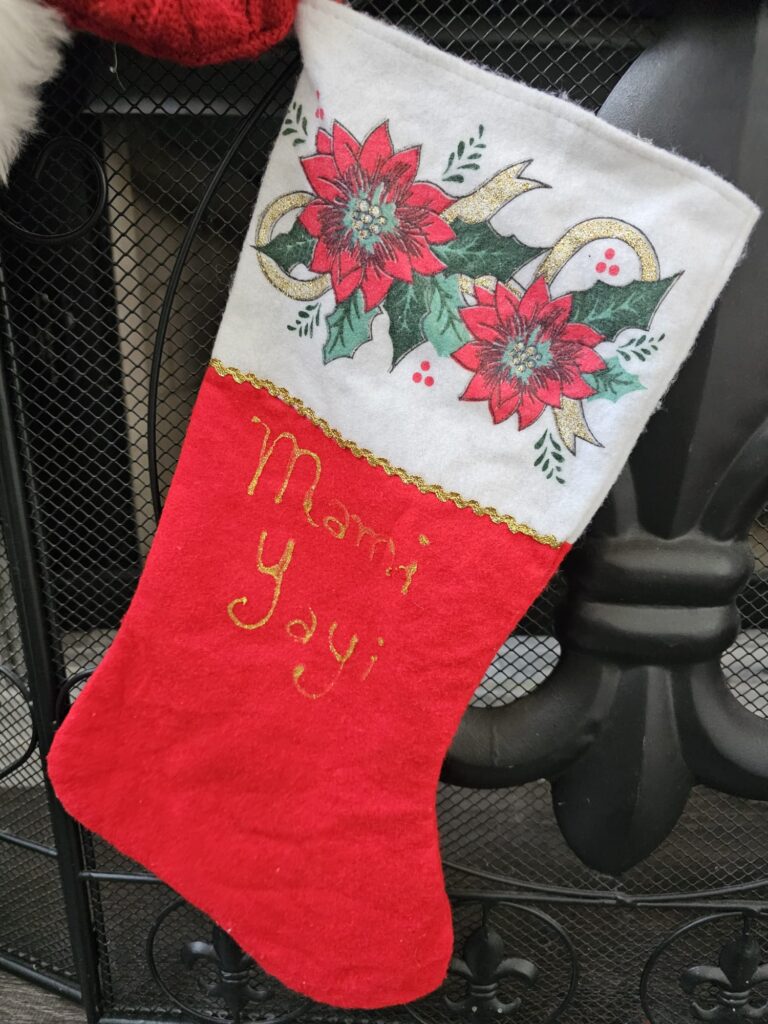
- Markers or Paint: Write names directly on the fabric in pretty handwriting.
- Iron-On Letters: These are quick, easy, and look professional.
- Appliqué: Cut out felt letters and glue or sew them on.

Step 5: Decorate Your Stocking
Here’s the fun part! Add some flair with:
- Ribbons or Lace: Glue or sew these around the top edge for a pretty border.
- Pom-Poms or Tassels: Attach these along the sides or bottom for a playful look.
- Glitter Glue or Sequins: Add sparkle wherever you like.
Step 6: Add a Loop for Hanging
Cut a small strip of fabric or ribbon (about 6 inches), fold it into a loop, and glue or sew it inside the top corner of the stocking. This will make it easy to hang.
Step 7: Display and Fill
Your personalized stocking is ready! Hang it by the fireplace, on a staircase, or even on a wall. Fill it with small gifts, chocolates, or notes to surprise your loved ones.
Why DIY Stockings Are Special
These stockings are more than just decorations—they’re filled with thought and love. Whether you’re making one for your kids, your partner, or your best friend, they’ll appreciate the time and care you’ve put into creating something just for them.
And the best part? It’s a fun project you can do with family or friends over a cup of hot cocoa.
Extra Tips for Moms and Sisters
- Involve the Kids: Let your little ones decorate their own stockings with stickers or paint.
- Make One for Everyone: Don’t forget your pets! A mini stocking for your fur baby is adorable.
- Keep It Simple: If you’re short on time, focus on decorating pre-made plain stockings.
Start crafting your personalized stockings today and bring extra joy to your Christmas celebrations!
